Fresh caulk is the cheapest-looking expensive result in a house. A clean, smooth bead around a Lincolnton tub or kitchen sink makes tile, counters, and fixtures look newly installed, while a smeared, cracked line makes a good bathroom look tired. The materials are inexpensive and the work is mostly patience, which is why the comparison that matters is not price but method.
There are three realistic ways a caulk refresh gets done: a quick cosmetic pass over the old line, a full removal and recaulk, and a full removal with backer rod in the deeper joints. They look similar on day one and very different in year two.
Why old caulk fails
Caulk joints move. A tub flexes slightly under weight and water, a sink gets bumped, and a house shifts a little with the seasons. Flexible sealant handles that movement until it ages, hardens, and loses adhesion to one side of the joint. Then water gets behind it, and in a bath that means moisture feeding mildew in the joint itself, which is the black staining that no cleaner removes because it is growing inside and behind the bead, not on it.
Carolina humidity stretches the timeline in both directions. A damp bathroom with a weak exhaust fan keeps joints wet longer after every shower, so mildew establishes faster. Ventilation is part of caulk life, and running the fan during and after showers does more for a new bead than any mildew-resistant claim on a tube.
| Method | What it involves | How long it holds | Best used for |
|---|---|---|---|
| Cosmetic pass over old caulk | New bead laid directly on the existing line | Shortest; new material bonds to old, dirty sealant and peels early | A quick tidy-up before guests, understood as temporary |
| Full removal and recaulk | Old bead cut and scraped out, joint cleaned and dried, fresh bead tooled smooth | Several years in a typical bath with decent ventilation | Most kitchen and bath joints under about a quarter inch wide |
| Removal plus backer rod | Foam rod pressed into deep joints so the bead bonds to two sides only, at the right depth | Longest; the bead flexes properly instead of tearing | Deep or wide joints, tub-to-wall gaps, and joints that keep splitting down the middle |
| Silicone sealant | Full removal method with a kitchen-and-bath silicone | Long, flexible service; cannot be painted over | Tubs, showers, and sink rims where water sits |
| Painter's acrylic latex | Full removal method with a paintable caulk | Shorter in wet service, fine in dry areas | Trim, backsplash tops, and joints that must take paint |
The removal is the job
Every method that lasts starts the same way: the old bead comes completely out. Cut both edges with a utility knife, pull the strip, then scrape the residue with a razor scraper and clean the joint so the new sealant touches clean tile and tub, not old silicone, which almost nothing sticks to, including new silicone. Wipe the joint with denatured alcohol and let it dry fully. A bead laid into a damp joint in a humid bathroom starts its life half-failed.
Backer rod deserves its reputation. In a deep joint, sealant that fills the whole depth bonds to the back as well as the sides, and that third bond is what tears beads apart when the joint moves. A foam rod sets the depth so the bead is wider than it is deep and bonds to two sides only, free to stretch in the middle like a rubber band instead of ripping.
The tape edge and the tooling pass
For a sharp line, run painter's tape along both sides of the joint, leaving exactly the gap you want the bead to fill. Lay a steady bead, tool it once with a wet fingertip or a caulk tool in a single pass, then pull the tape immediately while the sealant is wet and let it sit untouched. Most ugly beads come from overworking: every extra pass drags material out of the joint and smears the edges that the tape was there to protect.
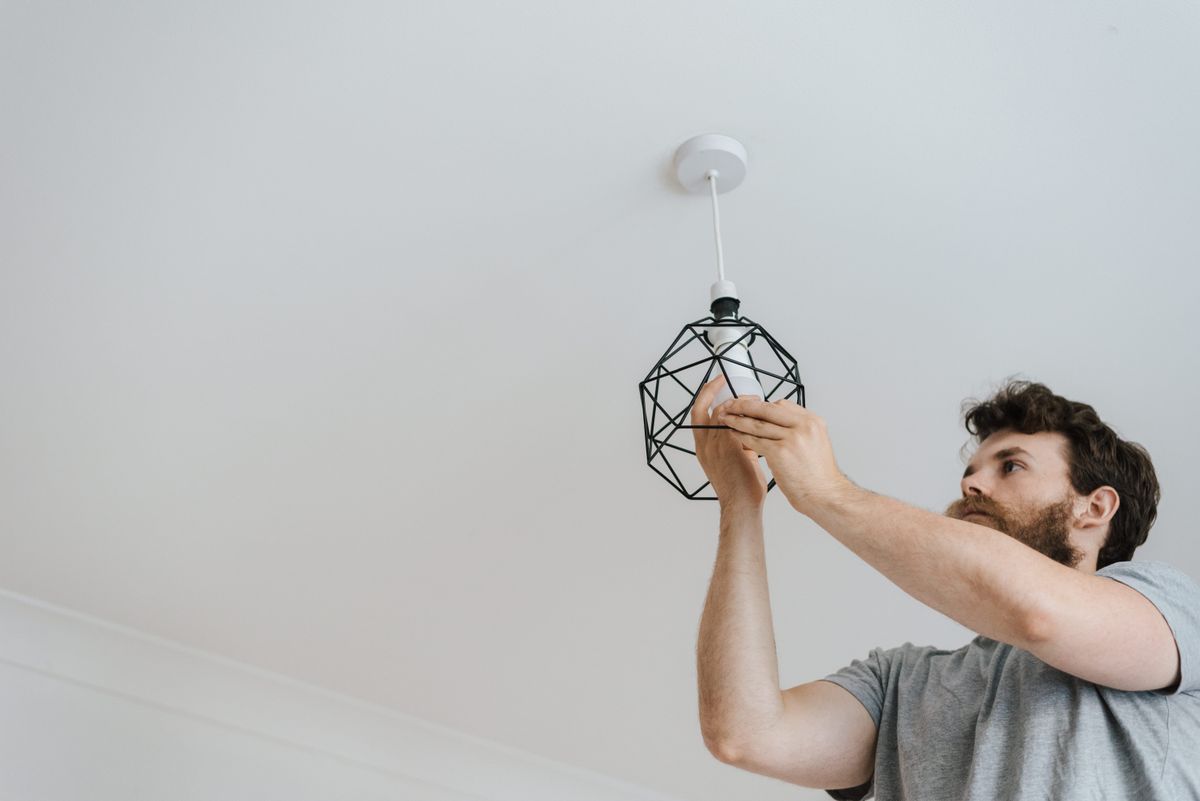
Fixtures and installs sit alongside this kind of refresh on most punch lists, and a recaulked bath with one new light fixture reads as a renovation to most eyes. That pairing is routine work for services such as those at Bullock Home Repair.
Common questions
Can I caulk over moldy caulk to seal it in?
No. The mildew is in and behind the old bead, and a new layer over it bonds poorly and shows the staining through quickly. Remove the old bead completely first.
How long before I can shower after recaulking a tub?
Follow the tube, but a full day is the safe standard for most kitchen-and-bath silicones. Water on a curing bead weakens the bond at the edges.
Why does my new caulk keep splitting down the middle?
That split usually means the joint is too deep and the bead is bonded at the back. Backer rod to control the depth is the standard fix.
Photos in this guide are representative stock images.
← All guides from Bullock Home Repair← Back to Bullock Home Repair