Every drywall hole in a Lincolnton house belongs to one of a few size classes, and each class has a patch method that works and a couple that fail. A nail pop is not a small version of a doorknob hole. Treating them the same is how a ten-minute fix turns into a lumpy wall you can see from across the room every afternoon when the light rakes across it.
Think of it as a ladder. The bottom rungs you can climb with a putty knife and a small tub of compound. The top rungs involve cutting, backing, and taping, and that is where the line between a Saturday project and a call to a repair pro honestly sits.
Rung one: nail pops and pinholes
Nail pops happen as framing lumber dries and shrinks, pushing the fastener head against the drywall face until it bumps or cracks the paint. Filling the bump without addressing the fastener just buys a few months. The lasting fix is to drive a drywall screw an inch or two above and below the pop, pulling the panel tight to the stud, then pull or drive the popped fastener and fill all three points.
For simple pinholes and small dents under an inch, a single fill works. Press compound in with a flexible putty knife, scrape it nearly flush, let it dry, and sand lightly. Compound shrinks as it dries, so a second thin coat is normal, not a sign you did it wrong. Two thin coats always beat one thick one, which shrinks, cracks, and sands unevenly.
- Size the hole honestly. Under an inch is a fill. One to four inches needs a self-adhesive mesh patch. Four to six inches needs a support method such as a California patch. Larger than that, or any hole with crushed, soft surrounding board, gets cut back to solid material.
- Prep the edges. Cut away loose paper and crumbled gypsum with a utility knife. Compound will not hold to broken edges, and loose paper bubbles under a patch.
- Back the bigger patches. For a California patch, cut a piece of drywall two inches larger than the hole on all sides, score and snap the back gypsum away, and keep the oversized front paper as its own flange.
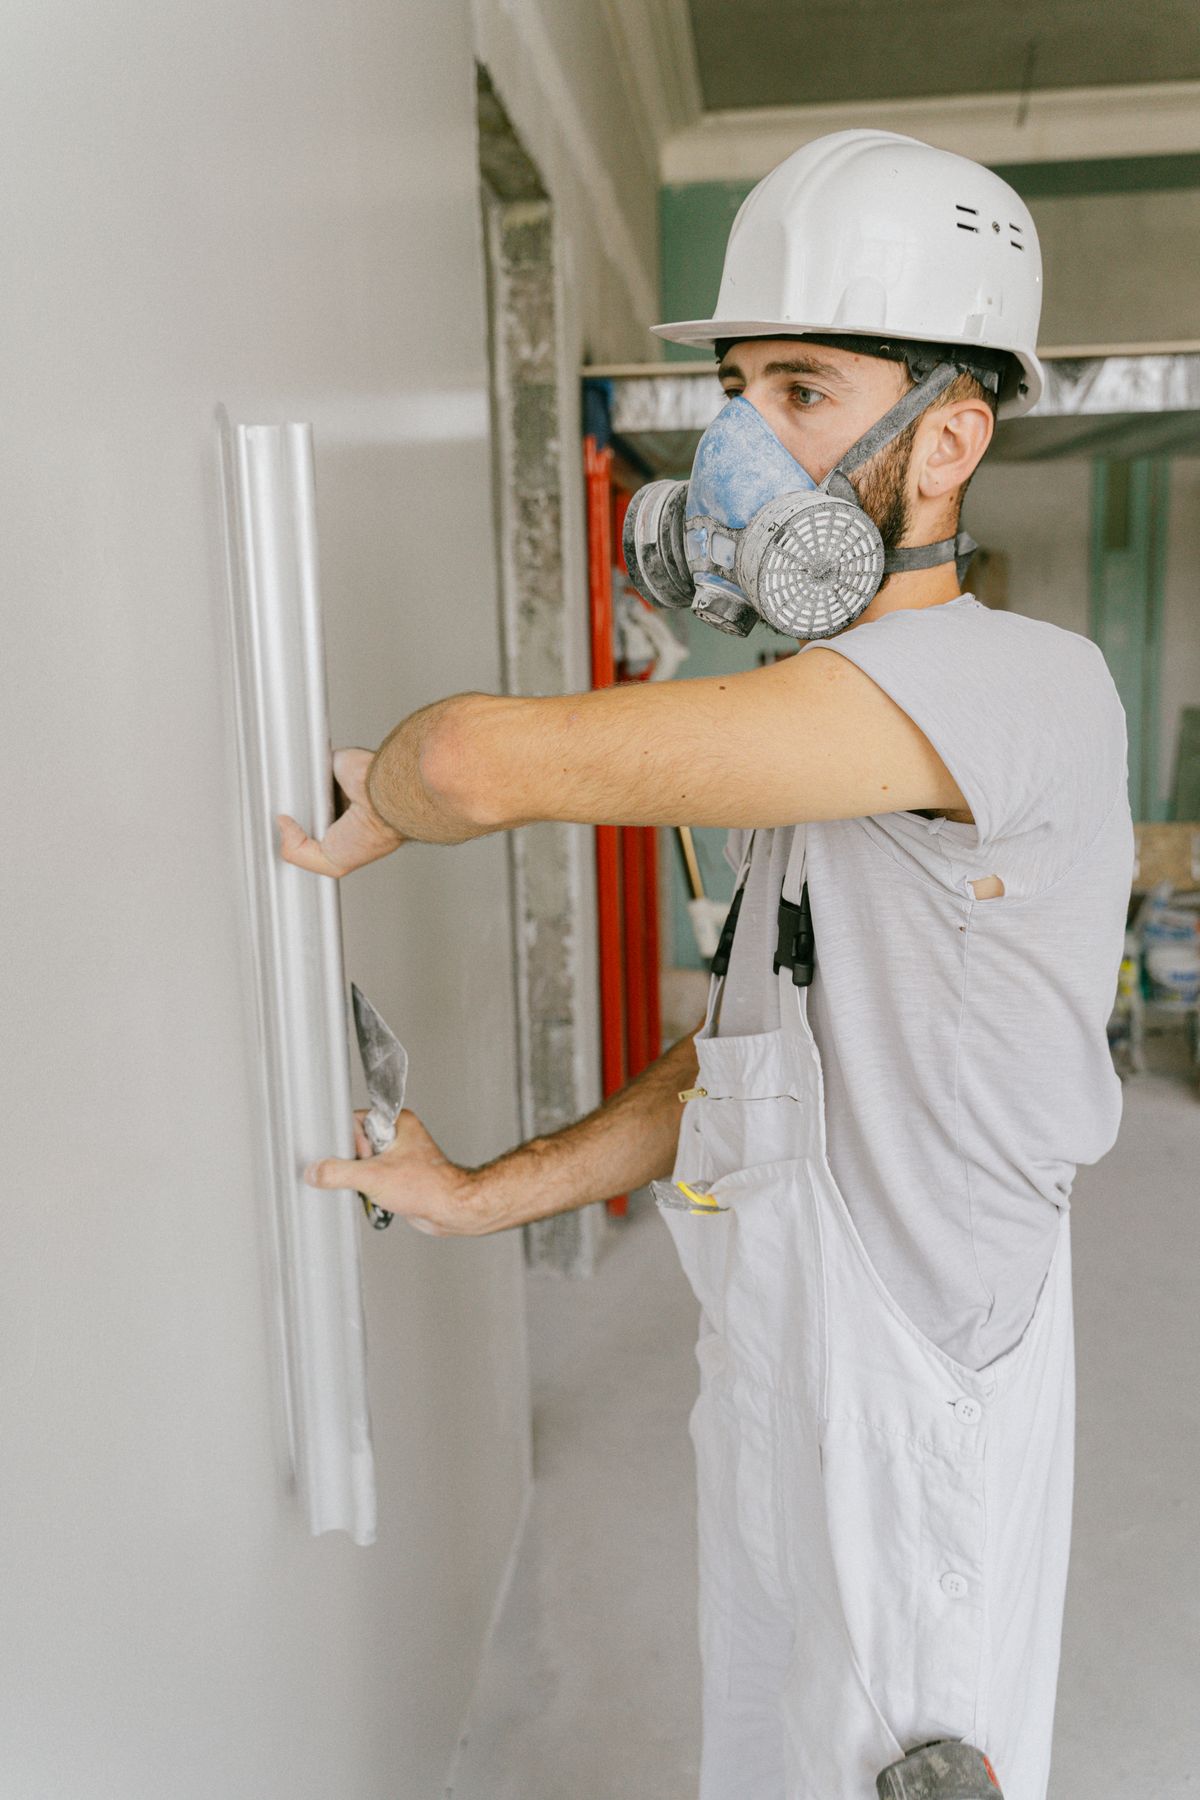
- Set the patch flush. Butter the flange with compound, press it into the opening, and wipe it tight. The face should sit level with the wall, not raised on a mound of mud.
- Coat in thin layers. Feather each coat wider than the last, roughly six, then ten, then twelve inches out. Wide feathering is what hides a patch under side light.
- Sand, check with light, then prime. Hold a lamp or phone light along the wall to rake across the patch; shadows show humps your hand missed. Always prime before paint, or the patch will flash through as a dull spot.
Rung top: doorknob holes and damaged corners
The classic doorknob hole comes from a door with no stop, and patching it without adding a stop just schedules the same repair again. These holes are usually four to six inches with crushed board around them, so cut the damage back to a clean rectangle, use a backed patch, and fit a door stop or a hinge pin stop before you call it done.
Corner damage is its own case. Outside corners have metal or vinyl bead under the compound, and a dented bead cannot be mudded straight. If the bead itself is bent, that section needs replacing, which means cutting, fitting, and re-coating a corner so both walls meet cleanly. Inside corners with cracked tape need the loose tape cut out and re-taped, not just skimmed over, or the crack reopens with the next season of humidity movement.
Where to stop and hand it off
Hand off any hole where the drywall feels soft or spongy well beyond the damage, since that points to water behind the wall. Hand off long cracks that keep returning, especially diagonal cracks from door corners, which can reflect framing movement. And hand off ceilings if you are not set up to work overhead safely. Drywall repair is one of the services listed by Bullock Home Repair, and a pro visit can clear several rungs of the ladder in one trip.
Common questions
Why does my patch show through the paint?
That dull, flat look is called flashing, and it happens when paint goes over unprimed compound. The compound absorbs paint differently from the wall, so prime the patch first.
Can I just fill a doorknob hole with compound and mesh tape?
For a hole that size the fill has no backing and will crack or push in. It needs a supported patch, and the door needs a stop so it does not happen again.
How long should compound dry between coats?
Standard drying-type compound needs roughly a day to dry fully in humid conditions, less for thin coats. Setting-type compound hardens by chemical reaction and can be recoated much sooner.
Photos in this guide are representative stock images.
← All guides from Bullock Home Repair← Back to Bullock Home Repair